Getting Started with the Kurviger Website
This guide will show you the basic steps to get started with Kurviger. This is only a short introduction to the basic features.
Plan a Route
Planning a route is the core functionality of Kurviger. It is very easy to plot a route on the website. A route consists of two or more waypoints. The Kurviger algorithm tries to connect the waypoints with an enjoyable route. Waypoints can be used to mark stops or can be used change where the route goes (Shaping Point).
There are two ways to set a waypoint, or in general to work with your route. You can us the sidebar on the left, or you can use the map.
In the sidebar you find input fields, where you can search for cities or places (e.g., London) or you can enter coordinates (for example 51.541274,-0.277684 for the famous Ace Cafe in London). You can add new points using the + button, reorder points with Drag&Drop and give names to the waypoints.
You can use the map. Right click on the map and choose any of the Set as options, like Set as start. If you like to place waypoints with a left click, you can either hold the Shift key (upper case key) and click or you can enable the left click mode in the Route Settings (in the Sidebar, click on the dropdown next to the route name).
So to get started, plan a simple route. For example right click on the map and select Set as start and then right click on the map and select Set as end. You should now see a route from your selected start to your selected end.
Naming Waypoints
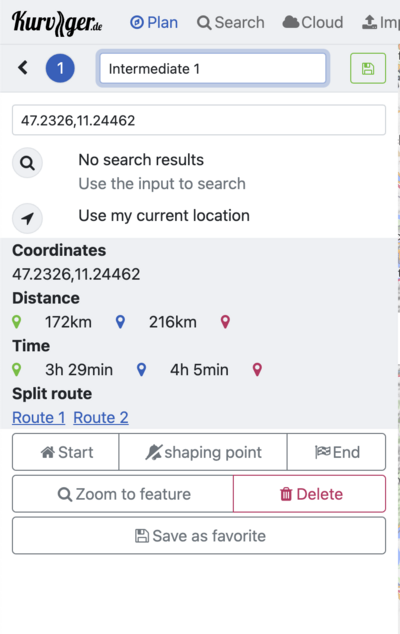
You can provide a name to a waypoint in different ways, the easiest way is to use the sidebar and click on the input of the name. You should see a widget with more information about that waypoint. Click on the pencil next to the current waypoint name (e.g., Intermdiate 1 or Shaping Point 1), write a name, and click on floppy icon to save the name.
Customize the Routing (Curviness, Motorways, Unpaved...)
By default Kurviger will provide you with a route that is curvy and fun to ride, but everyone has a different taste and depending on the location, different parameters can be more suitable.
There a 4 different modes:
- Fastest route - ignores curves, just the fastest route.
- Fast and curvy - uses motorways and curvy roads in a mix that avoids extensive detours, but should be still reasonably fun to ride.
- Curvy - routes are fun and can contain some detours to increase the fun or avoid cities.
- Extra curvy - can contain significant detours and tries to maximize fun while strongly avoiding cities.
With these different modes, you can set the general type of route you are looking for. If you are a Kurviger Tourer, you can see all three curvy modes at once, which can help to combine different alternatives into a great route.
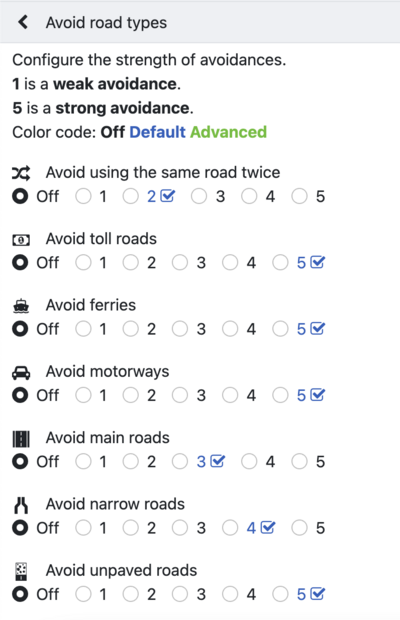
In addition to the curvature modes, you can define avoidances, to avoid certain types of roads. You can avoid:
- Using the same road twice - will result in a different way back
- Toll roads
- Ferries
- Motorways
- Main roads - this will result on a route mostly using smaller back country roads
- Narrow roads - smaller back country roads and single lane paths are avoided
- Unpaved roads
If you are a Kurviger Tourer, you can even change how strongly these avoidances should factor into the routing calculation. So you might decide to have only a slight ferry avoidance, but still using a ferry if the detour would be too long.
Including Points of Interest on your Tour
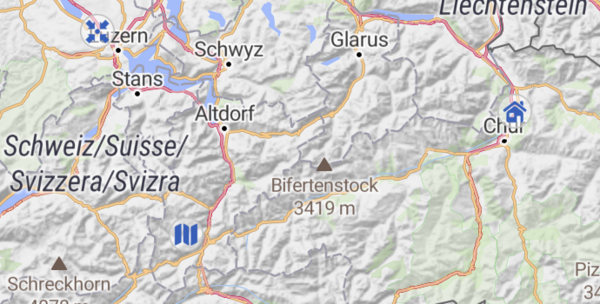
Kurviger includes a lot of POIs that might be interesting for your tour. We provide both editorial content and content from OSM. These are the blue icons on the map, you can click on these icons to see more information about the POI. We show you the following types of POIs:
- Biker friendly accommodation (Editorial)
- Motorcycle tours (Editorial)
- Motorcycle meeting points / biker cafes (Editorial)
- Fuel stations (OSM)
- Mountain passes (Editorial + OSM)
- Motorcycle friendly tourism (Editorial)
- Technical Museums (Editorial)
- Mechanics and Motorcycle Shops (OSM)
- Tourist Attractions and Interesting Places to Stop (Editorial + OSM)
- Viewpoints (OSM)
This is how the POIs are shown on the map:
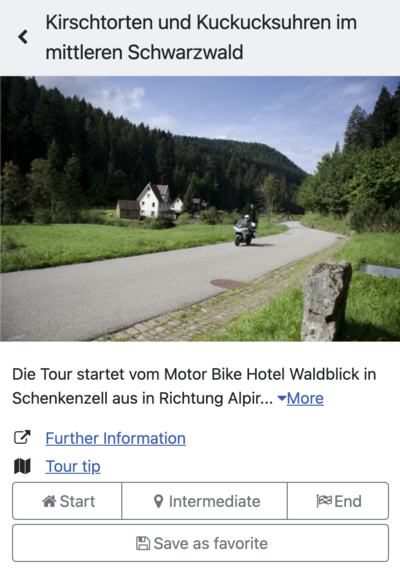
If you click on an icon, you will see an info window showing your more details about the POI:
In the POI info window, you can click on the buttons to easily include this POI in your tour.
If you know of a POI that is missing, please let us know: Submit a new POI (hotel, meeting point, museum, etc.).
Loading routes (Overlay vs. Route)
Kurviger can load routes in many formats. On the website, click on Import, there you can select the route you want to import.
The overlay only displays the data, but does not use it for routing. This can be useful to load a couple of routes to help you plan a route. Another use case could be to load data from third parties like Passknacker to include certain POIs.
When you import a route for the routing, Kurviger will try to create a route based on your input, it is worth to try to change the automatic mode, if the result is not what you are looking for.
Also see our documentation here:
Transferring routes to the Kurviger App or a Navi
To transfer a route, you need to click on Export. For the Kurviger app, you can choose the .kurviger file. If you know what type of file your navi can read, you can select that and then click on Export.
As a Kurviger Tourer you can export the name of waypoints and the shaping points, just select the option you like.
When your navi only supports a format based on waypoints (no tracks), it can help to generate additional waypoints that are added to the route so your navi can follow the planned route more easily.
To find out more about route transfer, have a look here: Route Transfer (Import, Export)
FAQ - Frequently Asked Questions
If you have any questions, have a look at the FAQ here: Frequently Asked Questions (FAQ).
If you still have questions, please have a look at our forum. Many questions have already been answered, if yours has not been answered, please ask.


