This is an old revision of the document!
Getting Started
Thanks for choosing the Kurviger App! We hope you enjoy it as much as we do. Here is a small tutorial to get you started using the Kurviger App. If you have any questions along the way, have a look at our Frequently Asked Questions (FAQ) or ask in our forum. The Kurviger app is available on Google Play.
Please note, the Kurviger App is currently in Beta. For more details about the Beta, please have a look here.
Planning Your First Route
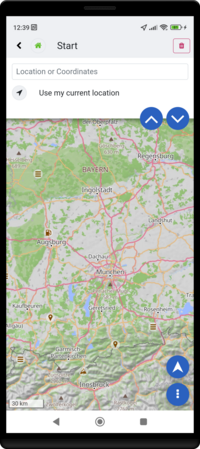
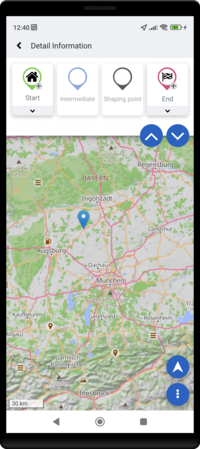
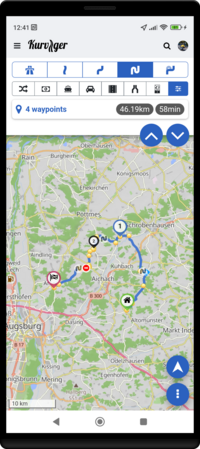
Planning a route is very simple. You can place a waypoint (start/destination) in different ways. You can short or long press the map at the point where you want to place a waypoint or you can use the address fields in the upper half of the screen. Note: You can also plan a route on the website and transfer it to the app, using the Kurviger Cloud, a link to the route or a route file.
Finding your way around the app
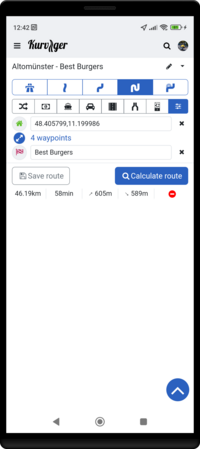
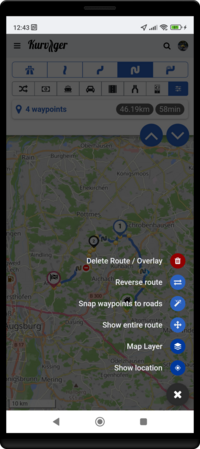
You can expand the route planning view from the upper half of the screen to the full screen to see and edit more details regarding your route. In this view you can perform actions like reversing or deleting the route. Click on the blue button with the arrow pointing downwards. You can move this view up again, with the blue button and the arrow up icon.
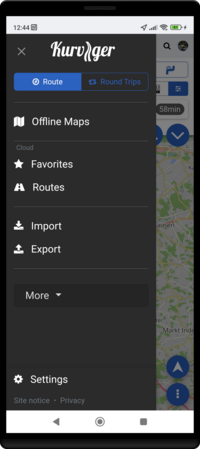
Clicking on the menu icon in the top-left, opens a menu with all relevant options, like Import, Export, or the Kurviger Cloud.
Riding Your First Route
Ok, that's the tedious part, now let's have some fun and enjoy a good ride!
Turn-By-Turn Navigation
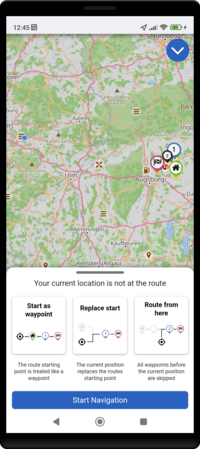
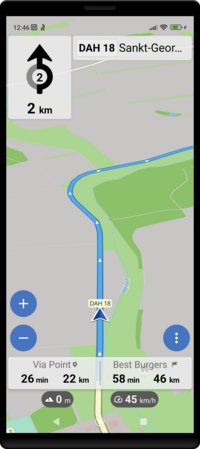
There is not much to do. Press the navigate button in the bottom-right corner of the screen and start riding and press on ‘’Start Navigation’’. If you have an audio device you will be able to hear voice route guidance as well (both cable and bluetooth work). If you disable your screen, the navigation will continue in the background and you will hear turn instructions, this is very handy if you don't have a smartphone mount or to conserve battery.
Before you start riding, we highly recommend downloading the relevant offline maps for your route, this is not required but recommended. Just click on ‘’Download Offline-Maps'’. You can also slide up the panel to see more settings and options.
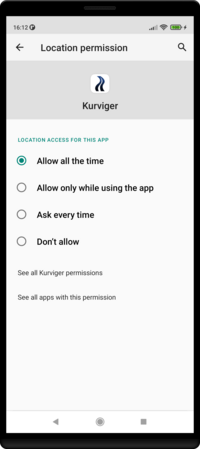
If you would like to receive navigation updates when the navigation is in the background or the screen is locked, you need to select Allow all the time in the permission screen. You can exit this screen again with the back arrow in the top-left.
Export to a Satnav
Similar to the export function of the Website you can export your route to a navigation app or device of your choice. Go to the main menu and select Export. More information on exporting can be found in Route Transfer (Import, Export). Note: on newer Android devices it might not possible to save routes to the SD-card.
Getting Started for the old Kurviger App
If you would are looking for the getting started guide of the old app, please have a look here.
